Custom Stencil Logo Project
We finally got round to painting our business logo on our studio wall! It was slightly challenging as the walls are breeze block and textured. This blog shows you how we did it - take tips from it to make your own stenciling projects turn out as well as ours did! And be sure to check out our Custom Stencil Page for the actual video project.
 Prepare what you need for your project. Here are a list of things you may need for your stenciling project -
-Paint
-Brushes - stencil brushes / normal brush / fine brush
-Dense foam roller ( great for flat plastered walls )
-Decorators tape to hold stencil in place
-Paper towels for offloading your brushes / roller
-Brushes - stencil brushes / normal brush / fine brush
-Dense foam roller ( great for flat plastered walls )
-Decorators tape to hold stencil in place
-Paper towels for offloading your brushes / roller

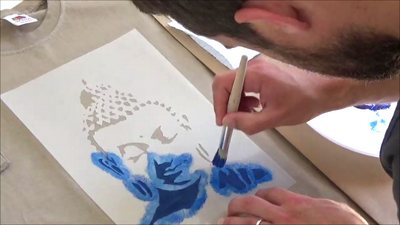
It is SO IMPORTANT to use the correct amount of paint when stenciling. We have made sure that our stencil brush has not got too much paint on it - if you have too much paint on your brush then you will get paint bleeding under the stencil causing blotchy edges.
I am stippling in from the edges of the plastic to create the outline of the circle - as always being careful not to get the paint under the stencil.
This is what it looked like once we had finished going around the edges - we then filled in the middle using a normal paint brush - before doing another 2nd coat to complete.
Here we have the 2nd layer stencil on and are stippling again and this time we are completing the IDEAL STENCILS lettering - it will take 2-3 layers to go over the darker reddy pink colour.
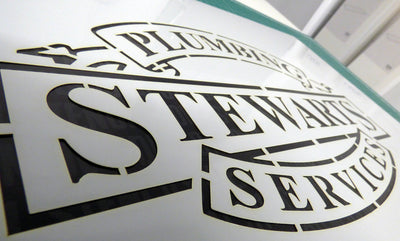
Revealing the result is always the best part- if you have done it right then you should have a nice clean result - I was really happy with this, especially with the textured breeze block surface.

We had to use a fine brush to paint over the stencil bridges in the letters A and D. We also touched up a couple of other little areas where we had some paint bleed, which will happen however careful you are. These finishing touches are so enjoyable to do.
Could not be happier! The new painted logo adds colour to the room, it creates a focal point and looks seriously professional. I'm sure it will feature in the background for lots of demo's or videos we do in the future.
Hope this helped you in your project and if you want your own logo doing as a stencil then please use our form to get in touch.

Leave a comment